Sunday, April 14, 2013

The end.

I am sorry for the lack of user generated photos in this post.  Nick couldn't be there at the last meeting with Mary, and Kathy fails...  That being said... here's what we got...

Finishing a Bassoon Reed

1) Flatten the wires.  Flatten wires 1 and 2 so they are pointing down


 Flatten Wire 4 so it is pointing up.
2) Use your "tip-cutter" 

to cut the tip.
It is not that expensive and it is good to have.
It acts as a mini guillotine to open the end of the reed.  
You need it because it takes a lot of force and you might crack the reed if you just use your weapon of choice... the razor blade...

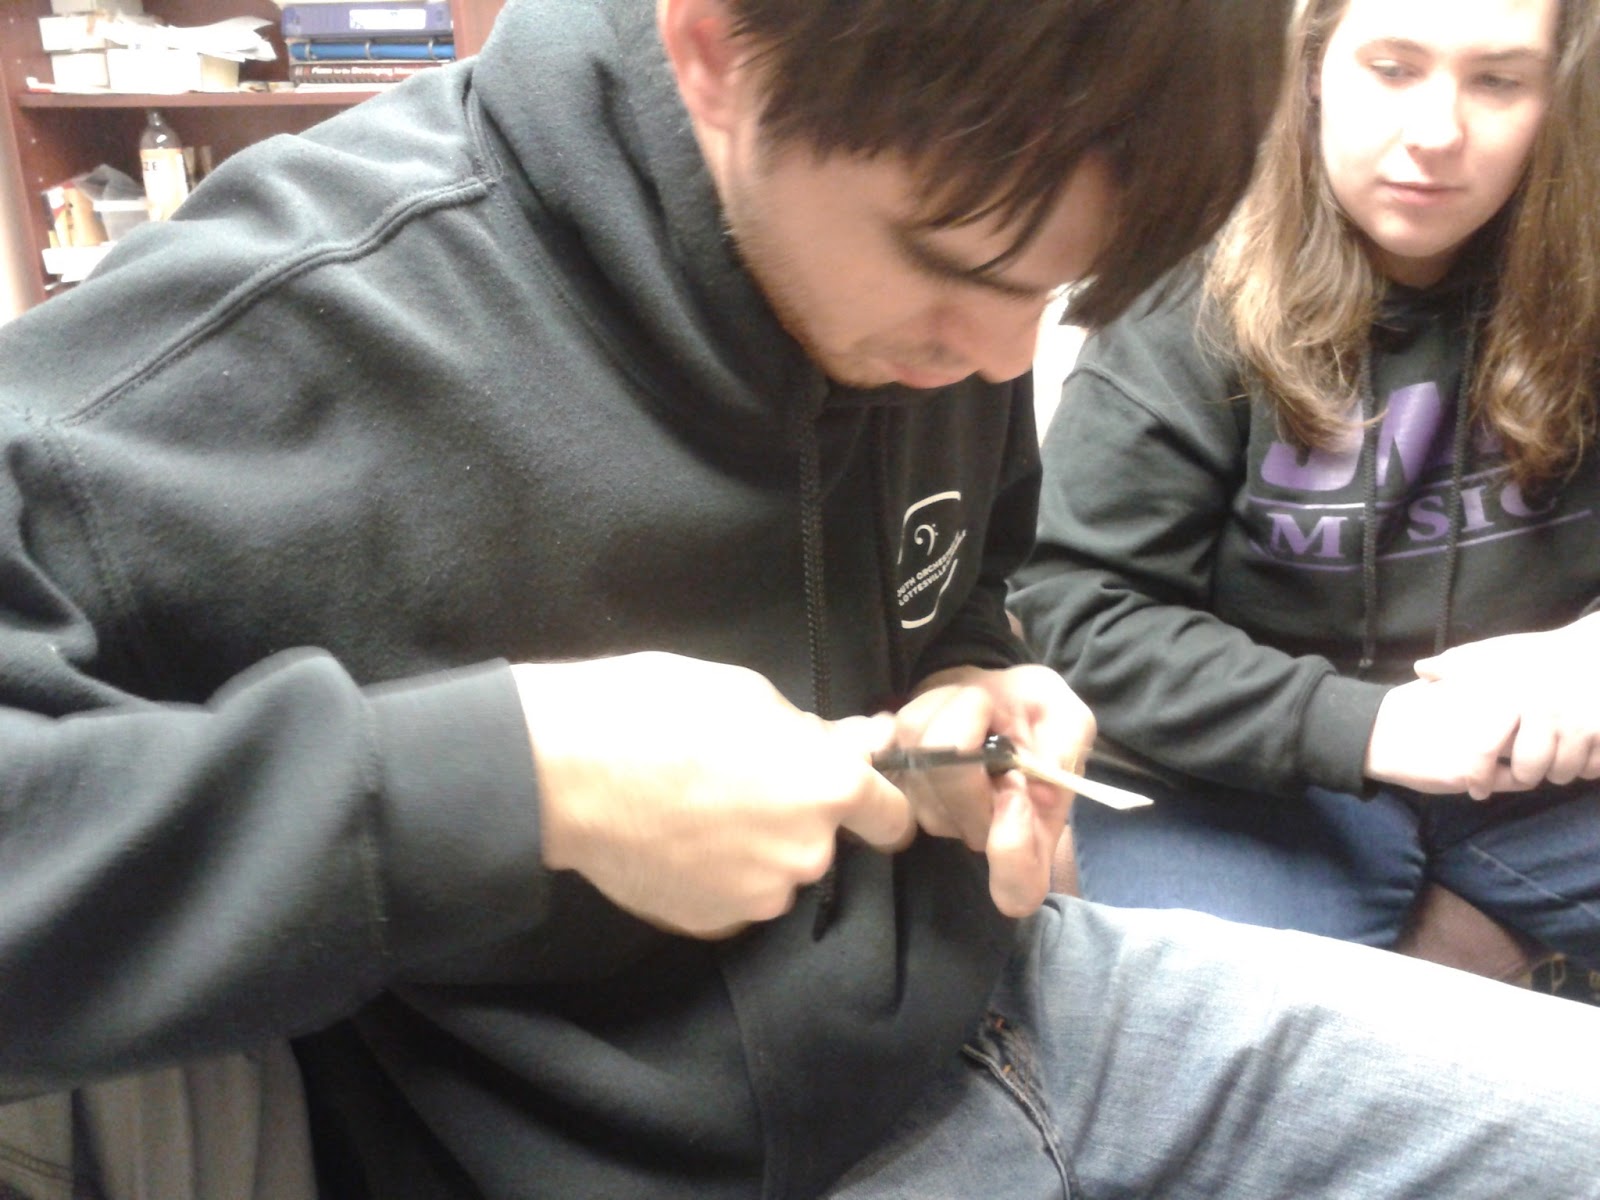
3) Next you use a tip profiler.  

Put the end of the reed on the metal rod.  Carefully slide the metal plate into the opening of the reed.  From there it is very similar to the profiler we used before.  Just press down and scrape like we did during the first profiling step.  

4) Now you file with a filer.  This just looks like a nail file, but is probably more expensive.  Put a plastic plaque into the opening.  File each side of the heart, each edge, and then vey lightly down the heart (just once on that last part).  You really need to dig into the reed because this is the step when you take off enough cane to make it playable.  

5) LAST STEP!  BLENDING!  Take your thumb and put it on the reed.  Scrape around the thumb out towards the corners into the reed so there is effectively a thumb nail shape on the reed.  Continually put the reed into the light and make scrapes to make sure each of the sections is blended.  

6) Test with a crow and make personal adjustments as necessary.

Thank you all for joining us in our reed-making adventure.  We hope you learned a lot.  We certainly did.

Tha-tha-tha- that's all folks!


The Final Scrape!

This was our final meeting with Danny...
*Tear Tear*
*Sniffle Sniffle*

We talked about the final scrape and making the oboe both playable and tailored to each individual.  This is the stuff of legends folks... also the stuff you might use to adjust and fix reeds when your students' reeds are less than great...


We are finally at the point where the adjustments can be made based on how the reed plays on and off of the oboe.  It is during this step that you start adjusting the reed to your personal needs. 

STEP 1: When in doubt... soak the reed in warm water--we were in doubt, so that is step 1.

After this, there are no real steps.  Just make scrapes to adjust the reed's density and consistency.

Continue to make sure your sections are blended, but clearly defined somehow at the same time.

Clip the reed if it is too soft--if you go too far, you can mess it up, but you can always use it as a junk reed if you need one in a pinch *Cough Cough... Woodwind tech reed*


If it feels too hard in your mouth you can shave it off with a plaque and a knife.


You can use the SQUEEZE TEST to see what is keeping the reed too open if it feels too open.
1) Squeeze just the tip.
2) Squeeze the heart.
3) Squeeze the windows.
4) Take off cane to create correct opening shape.


Keep the knife out while you practice so you can continue to make adjustments.


 That is pretty much it.  For clarifications find an oboe player.


A trip to the Indian Sub-Continent... Turban Time!

After forming, it is time to add another wire (the 4th wire) and then wrap.  Some people do not use the 4th wire, but they are weird and we shall not speak more of them here.  The 4th wire helps to prevent future leaks and since we are rather poor reed makers, this is an extremely important step and we take all the possible precautions!

Once you have added (or not added if you are really silly) the 4th wire, you can make sure the wires are in the correct locations on the reed.  It is always good to double check your measurements as the reed changes over time and things get jostled throughout the process.  


NEW AND IMPROVED REED MEASUREMENTS!  
For a limited time only, get these new reed measurements, straight from the mouth of Mary as you read this post!  Don't mess around with those pesky old measurements!  Get the new ones that are right and not wrong like that other lever... I mean set of measurements:

                                      1) Measure 29 mm from the bottom for the collar mark.
                                      2) Measure 28 mm from the bottom of each end of the reed for the first wire. 
                                      3) Measure 18 mm from the bottom for the second wire.
                                      4) Measure 6-7 mm from the bottom for the third wire.  
                                      5) Put the fourth wire as close to the bottom as you can get it.

THREADING!  Just like knitting your mom a sweater... except... nothing like that...
More like weaving your neighbor a turban... kind of like that...  Here are the steps:

1) Cut about 5-6 feet of thread (about the length across both arms and your chest)
2) Cut the 3rd wire's excess wire so that it still wraps around, but barely sticks out.
3) Wrap one end around the bottom of the 3rd wire.
4) Make a figure eight from the 3rd wire up to the first, around, and back down to the 3rd.


5) Wrap around the 3rd wire again.
6) Then wrap in a sin(x) curve manner around the third wire, using the wire as the x-axis.
(For those of you less mathematically inclined, this is a wave that goes above and below the wire.)


7) Continue going above and below the wire until the thread completely covers the 3rd wire.


8) Then wrap straight around and up until you get to the 2nd wire.


9) At this point, get back out your handy-dandy NOTEBOOK!  I mean... PLIERS!
10) Bend the 1st wire down so you can slip the end of the thread through the loop,


11) Then pull hard at the other end so that the loop pulls the knot created behind the wrapping.


12) Cut off excess thread.  


13) It should look something like this... except better...


14) The last stage of wrapping is securing the thread with Duco Cement.  It is pretty messy so be sure to have a Handy-Dandy Paper-Towel ready for excess, but really you just need to put cement on the entirety of the wrapping and then set it to dry for at least 2 hours.


Form the reed, form, form the reed... PART DEUX

Here are pictures from OUR reed forming experience.  Since Mary only showed us last time, this lesson was just us actually forming our own reeds.


Thursday, March 28, 2013

The First Scrape: Oboe


After a long break of not meeting, we finally managed to meet up with Danny to continue our lesson on oboe reeds.  He showed us how to go through the process of the first scrape.  

(The Blank and the Knife)

To begin you work out the tip by scraping to the corners of the reed at a diagonal using a razor blade.  The bottom of the tip scrape should come to a measure of 66mm.  Make sure that the tip is as thin as possible since it will be clipped later on.  

Next, THE HEART! The heart is the hardest part of the reed and its placement is indicated below.  A heavy heart is difficult to play but gives the reed a richer sound, while a heart that is too light vibrates too much and produces an immature "buzzy" sound.  

Some people wait to put in the windows, but there is no reason for this so you should just go for it!  To create the windows use long strokes with the razor blade starting a few millimeters above the bottom and scrape upwards.  It will take about 10 strokes per window.  There should be two windows to each side with a "spine"in between.  The windows help to close the reed so that the entire reed can vibrate, not just the tip.  The tone then takes on a warmer and darker sound.  


RANDOM FACTS ABOUT REED MAKING!
1. Take cane off flattens the reed, while cutting the tip makes is sharper.
2. You can fix hitches by scraping at alternating left and right angles rather than solely upwards.
3. Make sure scrapings are equal on both sides.
4. Reed making is the Anti-Rikkers; IT'S ALL ABOUT SYMMETRY
5.  If it sounds buzzy when you play the reed take off more cane.


And now back to the first scrape!  

Before opening up the tip, hold the reed under the light and check for smoothness, darker sections and the "V" on the tip to make sure the reed is ready to move onto detailing.  

The First Cut!! Get your handy-dandy cutting stone and your weapon of choice (which should be a razor blade, but we won't judge you).  Place the tip of the reed on the cutting stone and take off "a sizable chunk".  Take note: a sizable chunk should only be about 1 millimeter.  You can use the "pop" test to make sure the reed is still sealed.  


Plaque - It's not just for your teeth anymore! You can use a Flat Plaque or a Contoured Plaque but the Contoured Plaque sometimes opens up the reed too much and breaks the seal.  You insert the plaque into the tip of the reed which allows for more detailed work.  

Once you have detailed the reed it is time to test it out.  Placing the reed in your mouth form a normal oboe embouchure and check for the "Buzz" and the "Crow".  You make the crow by placing the reed, up to the string, into your mouth and playing.  You should hear double octave C's, if the reed is in tune.   Check with a tuner and scrape or cut as needed.  At this point you are ready to try it on the oboe and cater it to your personal needs.  Do not finish the reed in this sitting!  Cane changes daily and you should leave it a little rough so you can come back to finish it tomorrow.  

Monday, February 25, 2013

Form the reed, form, form the reed...

There are 3 methods to forming reeds.  They are:
1) The steam method
2) The heated mandrel method
3) THE DO NOTHING METHOD!

In the steam method, you boil water and hold the reed over the steam before placing it on the mandrel and in the do nothing method you simply do nothing and place the reed on the mandrel.  WE used the heated mandrel method which involves using a creme brûlée torch on the mandrel before placing the reed on it.  Make sure the reed is wet if you use this method because otherwise the mandrel will burn the reed and cause it to become unusable.  

The first step is marking the reed on both ends for where to place the wires.

1) Measure 28 mm from the bottom for the collar mark.
2) Measure 26 mm from the bottom of each end of the reed for the first wire. 
3) Measure 18 mm from the bottom for the second wire.
4) Measure 6-7 mm from the bottom for the third wire.  


Next you score the reed.  Using a scoring tool (basically just 8-9 razor blades bolted together) make scratches down from the first wire line to the bottom on both sides.

After scoring, you cut the collar.  Cut into the collar lines already drawn using the razor blade (our weapon of choice).  Make sure it is deep enough to make a solid line, but not so deep that you cut all the way through it.  Then you finish profiling down to the collar lines using the razor blade.  Try not to take off too much or go beyond the collar line (if you made the cut deep enough, it should stop the blade at that point).

Next is WIRE!  Use brass wire (gauge 20-22).  Line up the wire with the first wire line with the wire behind the reed.  Bring the right side of the wire around the reed and then the left side, underneath of the right side.  Then you take pliers and pull, tighten, and twist.  


Wrap some butcher's twine around the reed and wet them both.  You can use pliers to keep this in place during the next step.


The next step is heating the mandrel with the torch. About 30 seconds should be enough.


Once you place the reed on the mandrel, you must mash each side around the mandrel, below the second wire line.  Above the second wire line, only mash the front and back so that the reed goes from round to flat.


 After this, you can remove the butcher's twine and put on the second and third wires, using the same technique as before.  The only difference is with the second wire, which should be opposite the first and third wires with the twisted wires being on the front.


Profiling, Shaping, Your Bassoon Reed's Guide to Personal Fitness

Next we met with Mary to talk about profiling and shaping reeds for the bassoon.

Mary noted that a profiler costs a few thousand dollars, so it makes more sense to buy gouged and profiled cane.  However, we used a profiler anyway to profile our split cane.

First, we placed the reed on the metal rod thingy, centered using the markers.

 Use the brass rings on either end to hold the reed in place.  Place the metal rod into the profiler, making sure that it locks into place.


Make your center and collar lines.  Then you scrape the reed from the collar to the center line using the profiler.  Push down and forward to make the scrape.


Shavings will come off of the reed with each pass through until you are finished.  When no more shavings come off you know you are done.


Make sure to never pull of any shavings, scrape them off with your thumb nail.  Once you have completed the scrape for both sides, you are ready to move on to shaping.


Shaping your reed's voluptuous bod!

In the reed room there are three shapes for basson reeds.  A 13 which is more narrow, a 2, and a 1A which has more flare at the end.   The number is dependent on the flare.  Mary only uses fold over shapers.

First you find the heart of your bassoon reed by holding it up to the light.  Make a small pencil line mark there so you can center the cane on the shaper.  The heart is located where the cane has a slightly greater density.  It will appear like a darker line when you hold the cane up to the light (it is usually, but not always in the center of your cane).  Once you fold over the cane, make sure you push up the fastener to keep it in place.  ALSO!  Make sure to keep your fingers below the fastener to avoid cutting yourself.  Cutting yourself is bad!


We take our weapon of choice, a razor blade, and cut off small strips along the shaper. MAKE SURE THEY ARE SMALL!  SMALLER THAN YOU THINK!  SIZE MATTERS!  Once you have made a few cuts, make a cut back upwards at the bottom, along the edge of the shaper.   This will make sure that you do not cut off too much.  Continue cutting down until the reed is smooth across the metal and the cane.  You can test this with your finger to see if it is done.